Portfolio of older work

Showing posts with label Monoprinting. Show all posts

Tuesday, April 29, 2014

Beth's House Post 2

Isn't that fabulous!!?!  This one is all thanks to Beth's inspiration.  The cloth is about a fat quarter size.  I had used it as a clean up rag before and it was dyed lightly and unevenly kinda lavender (see the light top part).   I added lines of black dye paste squirted out of a catsup bottle.  I let the lines sit a bit and then smeared them using a credit card and a silicon basting brush.  On the top I stamped letters using the same dye paste.  It sat about an hour before I did anything else to it.  Without washing it out, I decided it was a bit dull so I started adding drops of straight dye concentrate onto the fabric and let them bleed into each other.  After it sat for an hour, I rinsed it out and washed it.  Love it!
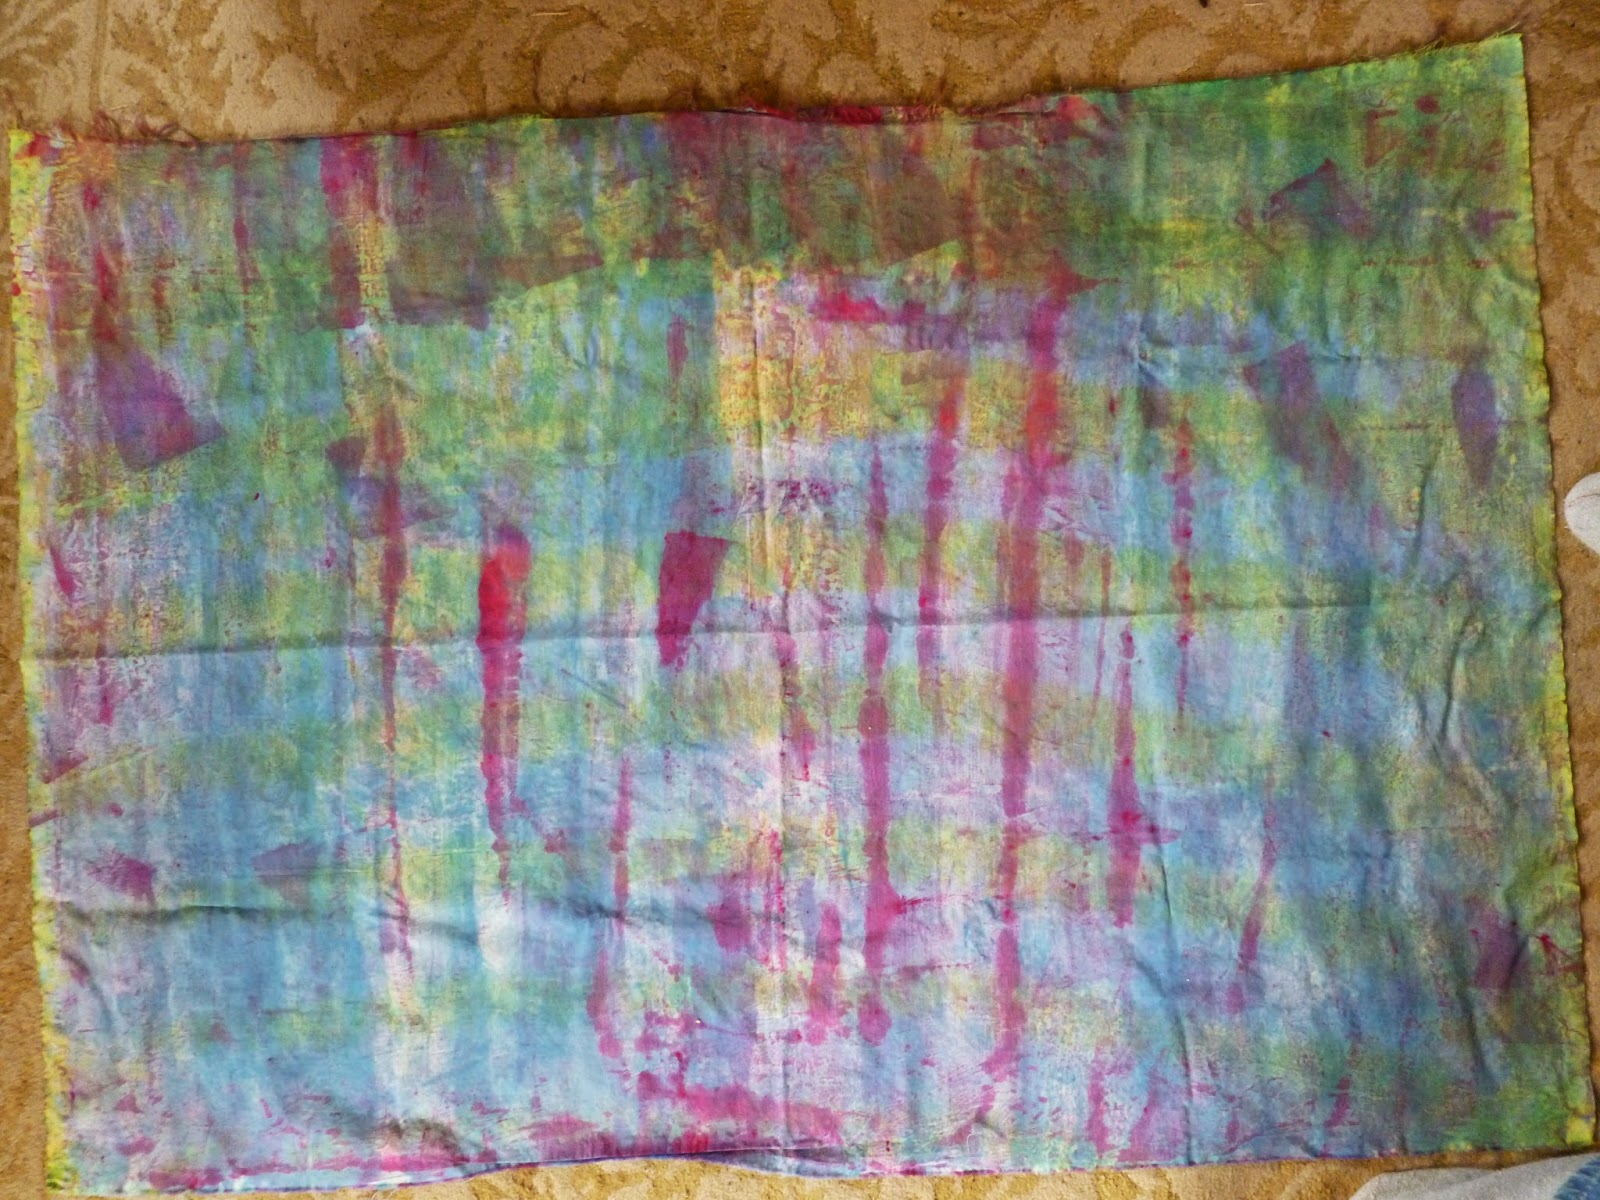
This is a 36 x 45 piece of cotton.  Previously I had monoprinted it with fushia and some blue (not sure which).  Clearly I had spread the dye  paste using a credit card for part of it also.  It was way too bright for me so I decided to try Ann Johnston's rope resist technique.  I wrapped it on the rope, scrunched it up, and soaked it in lemon yellow.  I thought the lemon yellow would blend well with the blue and would desaturate the bright fushia.  I did not get as much texture as I had hoped but I do like the results.  The piece is clearly a two-sided piece because here is the reverse side.

I think this cloth is a perfect candidate for Kathy Loomis tiny little lines technique!

Saturday, May 25, 2013

Before and After

Last night I watched lesson 2 in Clara Sonheim's class.  I got carried away with adding stuff to my prints.  Here are some before and after pictures.  I am not showing the really dreadful ones.

Before
After

Before  
After

Before
After


Wednesday, May 22, 2013

First EVER prints with the Gelli Plate

I am taking Carla Sonheim's Gelli Plate Printing online class.  Here are my first ever gelli prints.  They are all 10"x14".  I hated them last night but this morning they look better. Still just a beginning.  Today we get the second lesson about how to add the next layers using stencils, stamps, and other texture stuff. 

Do you have a favorite so far?


Tuesday, May 21, 2013

Pictures of my prints

I finally got an opportunity to take some pictures of some of my prints  They are all 22" by 30".  My inspiration artist is Mark Rothko and the quote I had in mind when I created them is by Friedrich Nietzsche. 

"The individual has always had to struggle to keep from being overwhelmed by the tribe.  If you try it, you will be lonely often, and sometimes frightened.  But no price is too high to pay for the privilege of owning yourself."

This post has been shared on Nina-Marie's Off the Wall Fridays.


Tuesday, August 17, 2010

Monoprinting on Geletin

I don't think I have shown you my monoprints that I made with Beth and Rosalita.  On the whole, I was not excited until I pulled out my organza.  I love organza!  Please notice that I made two to three prints from each print.

1. First I use a sponge roller to spread the paint on the gelatin plate and then I put a resist down on top.  If it is something like string then I make my first print with the sting in place.  If the resist is bubble wrap then I press it down for a imprint and then remove it.

2.  Second, I place the fabric on the gelatin plate and rub with my hands to print the fabric.

3.  If the resist is still on the gelatin plate, I carefully remove it and make a second print of the gelatin plate on the fabric. This time you get an inverse image.  Instead of blank spaces where the resist was, you get a paint print where it was.

4.  Last, I try and print the resist item itself.  The bubble wrap or other objects that were removed have paint on them which you can print on the fabric.  The string can be laid on the cloth, covered with paper, and rubbed for a print.

All of the above give different effects but can look interesting together since they are related.  Here are mine.

Notice the gelatin plate cracked but we just slide the two pieces together and kept printing.  I like the look the crack gives.  Just more interest to the print!

Bubble wrap--here is an example of printing both the gelatin plate and then the bubble wrap itself.
Some of these cracks are from the gelatin plate but most are from folds in the fabric when I printed.  I like it!


This is an onion bag and a print on top of a print. Do you see on the right purple print where the crack in the gelatin plate has now filled with paint so instead of printing a gap, it prints a heavier line of paint?  I like it!  You might also notice on the purple print on the left that there was a string accidentally left on the plate and it got printed as a resist.

Last are these two that got printed on regular fabric.  Actually when I print the organza I put it down on the plate and then cover it with fabric.  You might be able to compare the prints to find which one belongs to which one.  I printed them on the fabric I had previously dyed with pink.  You can also notice on the top print that I did not clean off one color of paint before rolling on the second--you get a bit of gold under that purple.

The gelatin plate cracked into a dozen pieces by the time we finished.  Not a  problem.  I washed them all off, put them back into a sealed container, and placed in my fridge.  I'll melt it and put it back into a flat pan to reform the next time I want to monoprint.