I am not getting much work done so I thought I would just share with you some of the blogs I have visited this week and have gotten some inspiration for fiber experimentation.
Bea at Dog in the Hole Studio got together and had a play date like Beth, Rosalita, and I did. They did some bleeding tissue paper stuff too but they took it several steps further. Gonna have to try that!
Elizabeth at Art and Quilts, Cogitation Thereon had a nice discussion on fabric and MX dyeing. I am still trying to figure out the dyeing and haven't yet gotten to the fine details of types of cotton to use. I did really enjoy reading about the glove box. I have had some problem with dye powder from one project getting on others and leaving marks I didn't want. The glove box would help with that!
Judi at Approachable Art always gives me good inspiration and encourages me even when my pieces are completely inadequate. In this post she talks about her multiple steps in surface design and some problems she is having with her silk screening. Since Beth, Roasalita, and I are planning to de-constructed silk screen next play date, I payed attention to Judi's advice.
Gloria Hansen gives us a tutorial on Shibori with Fabric Paint. I had not heard of anyone doing it with fabric paint but I must say I like her results, particularly the diluted black paint and bronze one. She also gives us wonderful links to other tutorials. LOVE sites that direct us to other fabulous sites, don't you?
Hope you have a good time visiting these blogs!

First it was all about quilting and then dyeing and then I started making books and zentangling and drawing. Now I have given up on limiting myself and this is all about my creative journey. Hope you'll join me on my journey and invite me on yours!
Wednesday, June 30, 2010


Saturday, June 26, 2010
Field of Dreams

I didn't like it (well, not hated it but it definitely needed more) and didn't like it and didn't like it but I think the last touch finished it. I kinda like it now. For more details and pictures, check out Interpret This!
Friday, June 25, 2010
Play Date Results #3 and #4

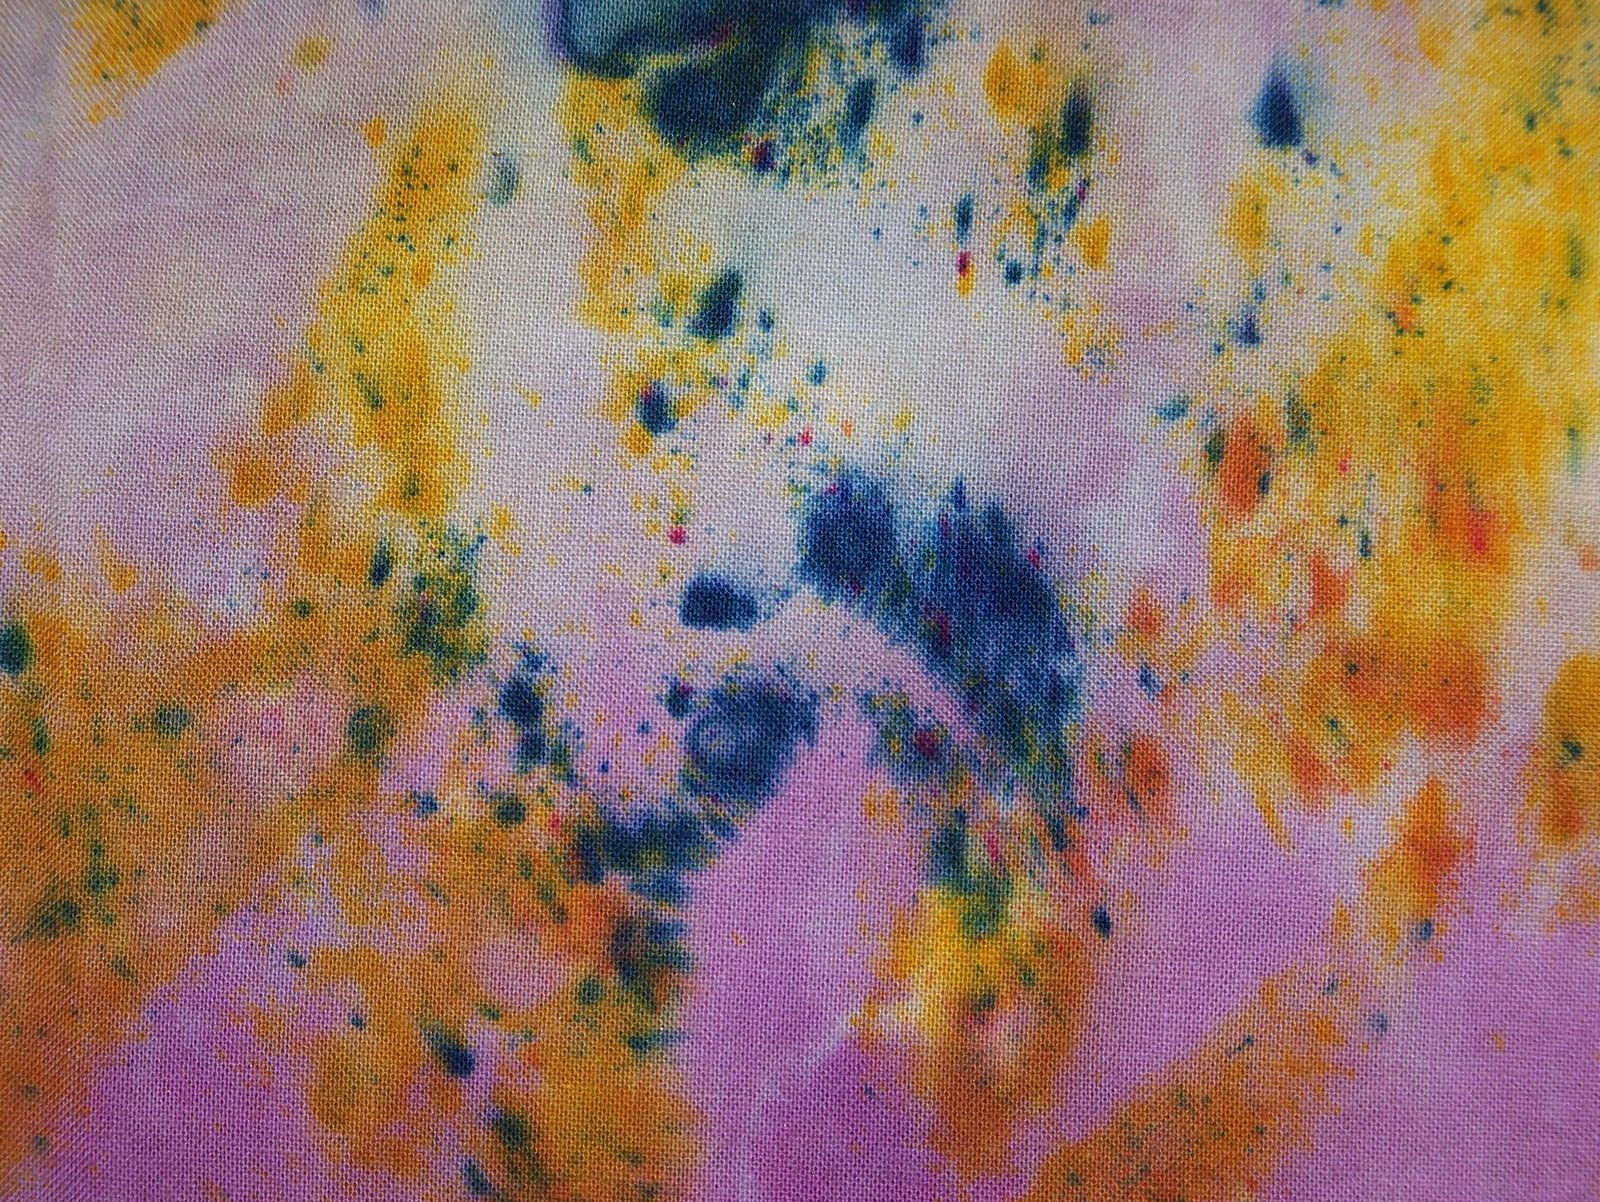
If you want a little more movement in the dye, you can spray the soda ash solution onto the fabric after sprinkling with the dry dye powder. That will cause the dye to run a bit. Beth did that to hers and got a lovely effect which I did not photograph (bad me!)

Fourth and last experiment we did was to paint with bleeding tissue paper. First you paint the fabric with a 50/50 solution of paint and water. Then you place strips of cut or torn bleeding tissue paper on the wet painted fabric. Make sure you press down or the tissue paper won't bleed. Let the fabric/tissue paper dry then take off the tissue paper. I tried the technique on the organza and loved the color and texture of the piece when dried! Because the organza was so thin, I laid a piece of white cotton under it for the painting and bleeding process. It also turned out beautiful! Without peeling off the tissue paper, I backed the bleeding tissue paper organza with a purple organza for strength and so the fabric would not ravel when cut.
Well, Beth and Rosalita decided I either was not crazy or at least crazy in the right way because we have another play date scheduled for August!
Tuesday, June 22, 2010
Results of Play Date #2


Once it is dry, you can treat it like regular fusing--cut it into shapes and fuse it to material. The difference is that now it pretty! The one warning is that once you have fused it to material, don't plan to iron the material again! I haven't tried it but I have been assured that is washable.
Here is my fusing cut into rough squares and fused onto some lovely discharged fabric that Beth made. Isn't it wonderful together?

Monday, June 21, 2010
Results of my Play Date
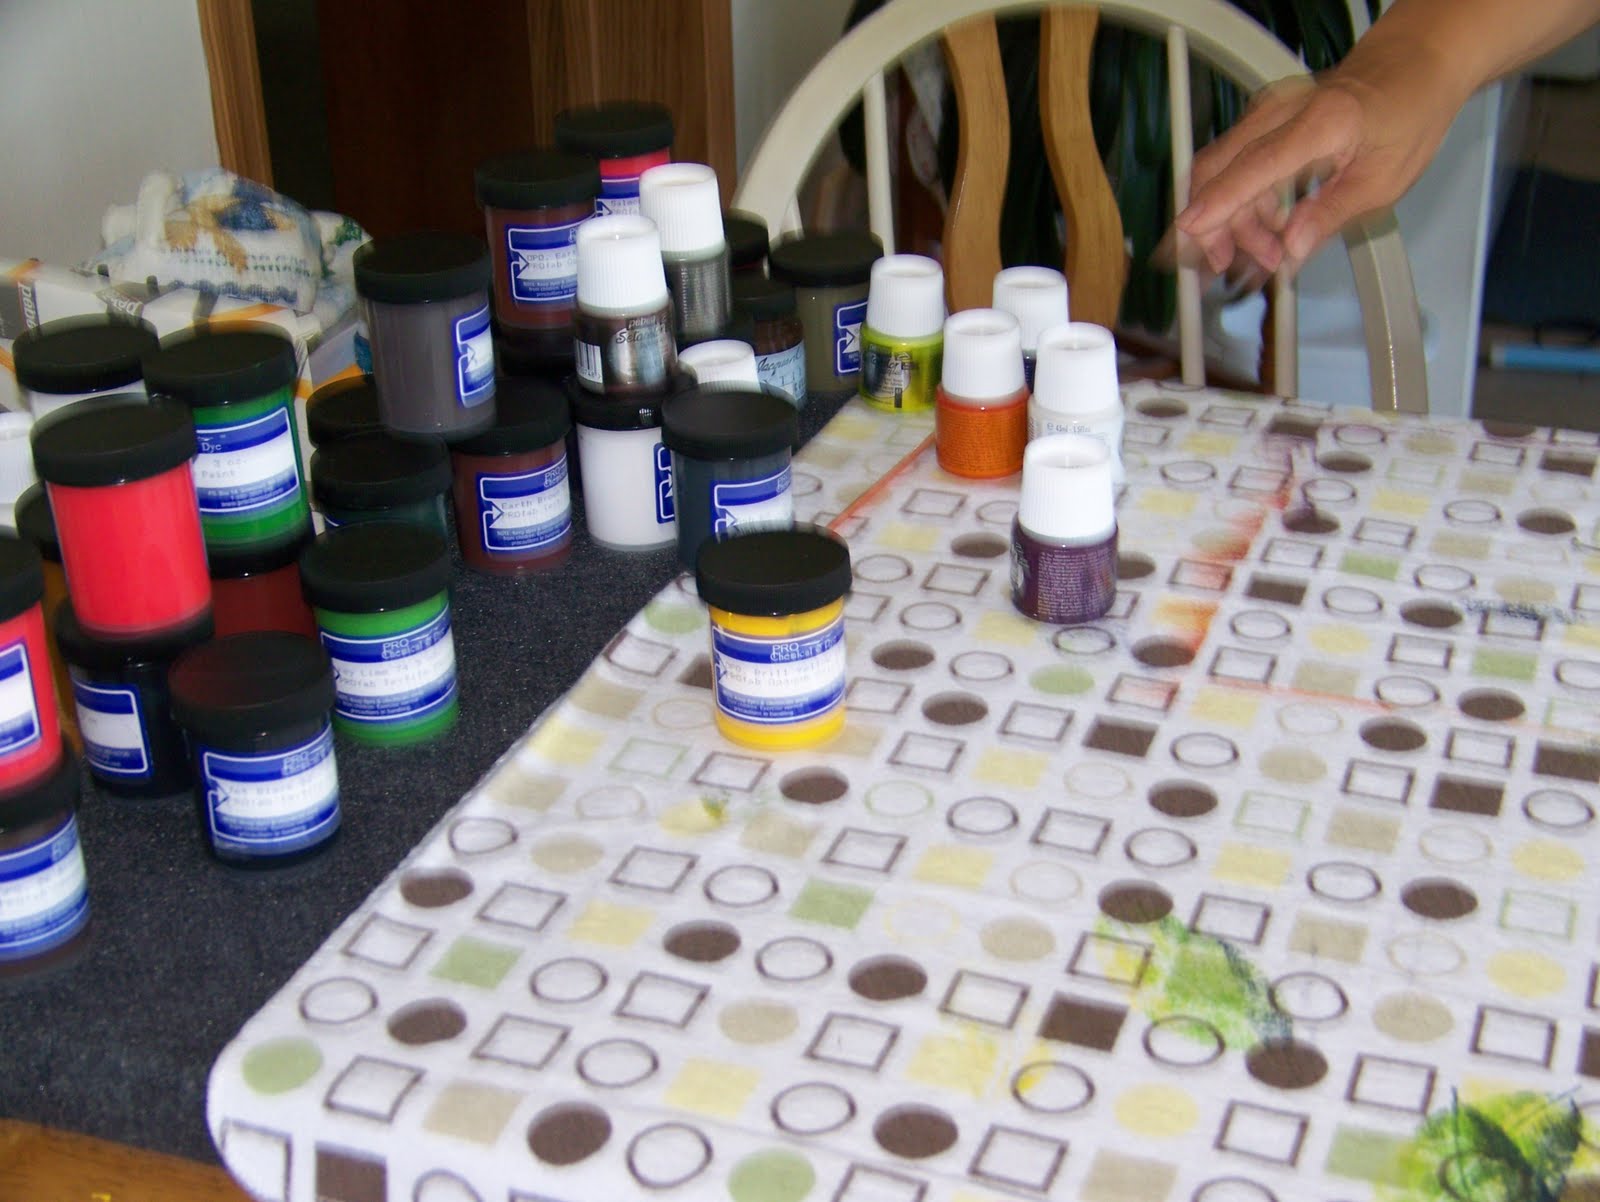
Saturday was my long anticipated play date with Beth and Rosalita, a couple of other Maine fabric artists! We were all excited and a little apprehensive about meeting for the first time. They wondered what they would do if I was a crazy lady and I wondered if I would end up cut into little pieces and buried in the basement. I mean, you never can tell about people you "meet" on-line, can you? I can't speak for them (since all my children will attest to my craziness) but I had a wonderful day. WOW are they talented ladies. If I get to play with them on a regular basis I can really see my art skills expanding!
We did three separate surface design techniques. One was silkscreening with thermafax images. I did two silk screens. This one is from a big and little goddess doodle that Beth made. I put it on a hand dyed fabric of mine that needed something. It still needs some swirls but overall it is coming along nicely.

Here is a peek of a print I did on the hand dyed silk I made and will use for my June Concept for IT! due in just 5 days (EEK!) Guess what I am doing tonight after work? The basting pin should give you a hint.

And here is the tree that Beth silkscreened on one of her hand dyed fabrics.

Rosalita did a silk screen too but I did not take a picture of it (I didn't want to be too big of a pest with the camera) but I did take a picture of her print of a leaf from her flower garden. Think like 12" or more large! Rosalita is not done with it. She has (and loves) the new Smooch paints (or are they inks?) and plans to highlight with them and add some thread play. I am eager to see this finished.

I fell in love with the silk screen process with thermafax and Beth gave me the contact information about how to get more thermafaxes made so I see this technique being added to my repertoire.
We are getting together again in August and one of our projects that month will be deconstructed silkscreen printing. What fun!
Subscribe to:
Posts (Atom)