

Here is my copper plate all carved and ready for printing. It is 5 inches by 7 inches. There on the left is the tool I used to carve the lines. The carving is called dry point because no acid was used to etch the lines.

Next step is to spread etching ink onto the plate using a plastic card. After working to get the ink on, then you scrape off as much as you can using the plastic card again.

Taking off the ink takes multiple steps. First I used the card. Then I use pages out of phone book to rub off more ink.

Now the plate looks like this but there is still too much ink on the surface.

So, I rub the plate with a tarletan and then wipe with a soft cotton cloth.

Once the only visible ink is the ink in the scratches, then the plate is ready to go on the press. UMA has two presses, Charlie and Lucy. I am using Lucy.

The paper is centered over the plate. The paper has been soaking in water because damp paper will take the ink better. The paper can't be too wet so it does get dried with a fluffy towel before going to the press.
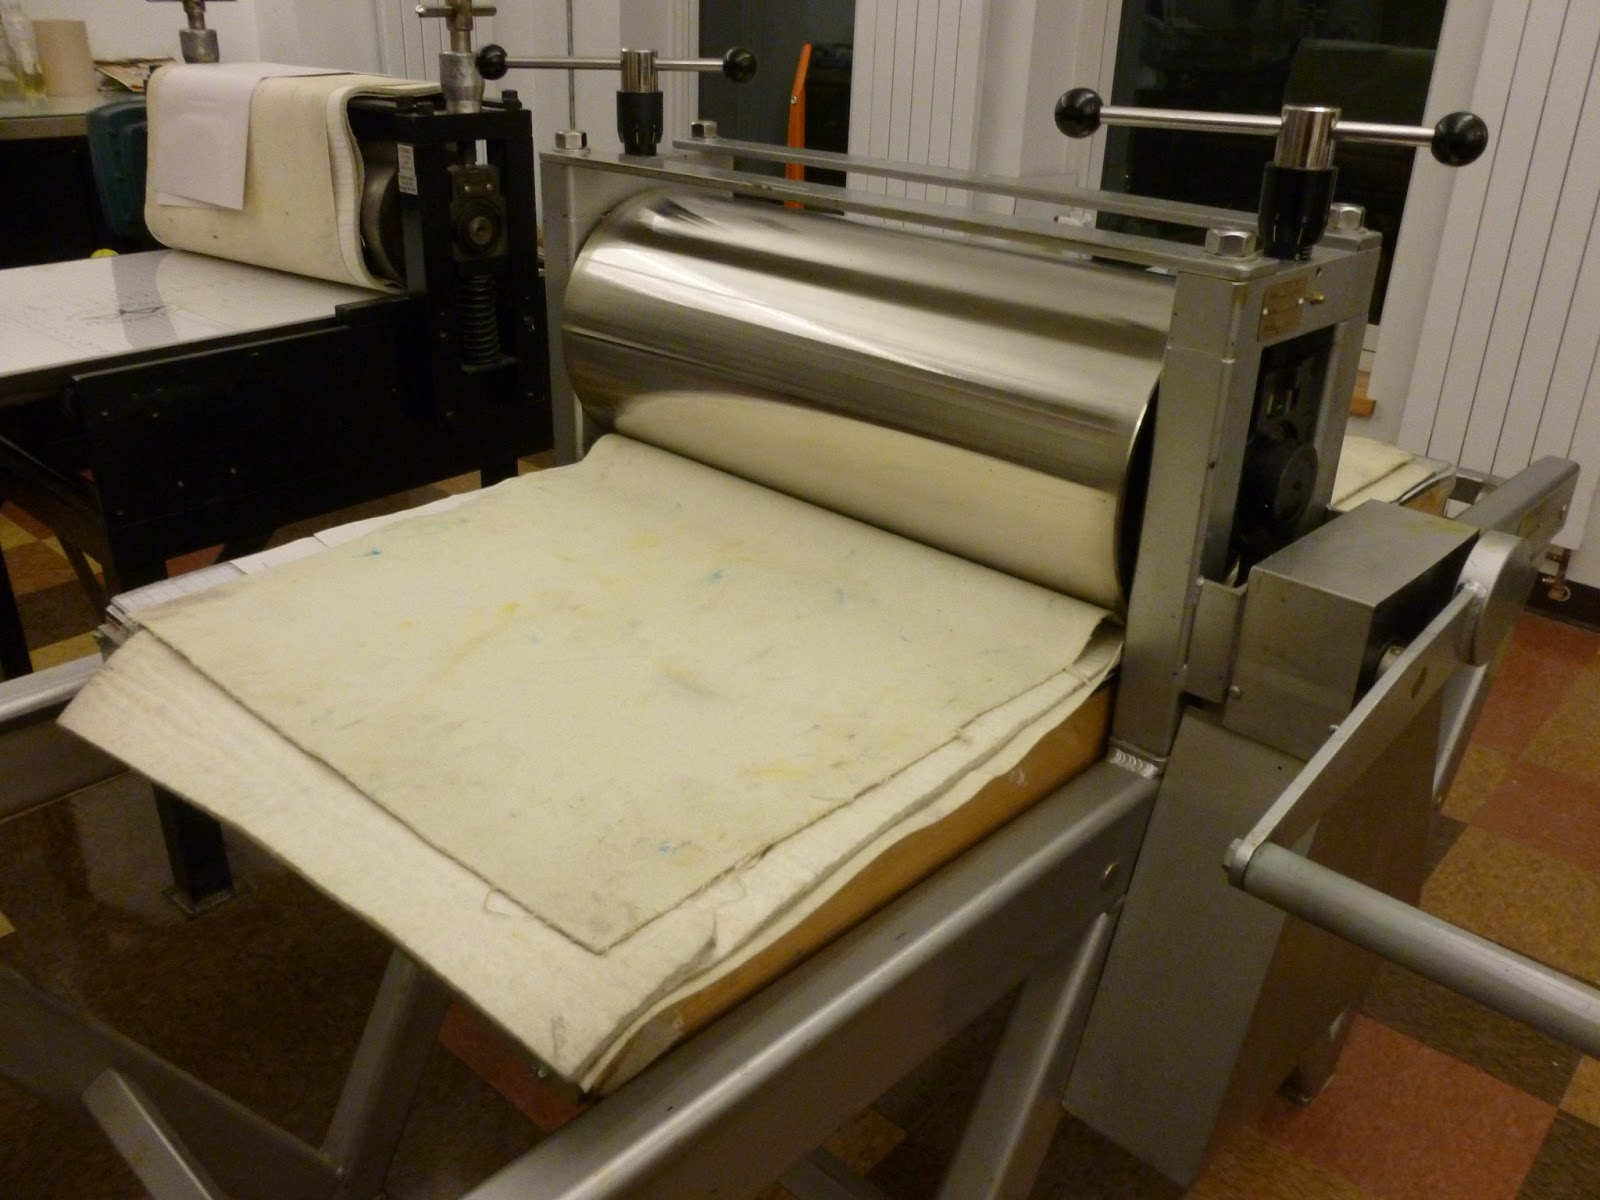
Down go the three blankets and the press table is cranked under the roller.

On the other side of the roller, up go the blanket,s and the paper is peeled off the plate. Did it turn out?

YES! ONE done! Only 9 more to do.
WOW!! I am SO impressed...the detail is amazing...beautiful work! I just signed up for your newsletter!!!
ReplyDeleteThis is just TOO cool! Your print is gorgeous! I have seen this sort of process using carved lino....but not copper....how many times can you print from this plate? Is 10 the magic number? Is it possible to get a print with out that press? .....LOVE the result.....well worth the effort
ReplyDeleteIs this somewhat like doing an etching? I remember doing those in school a million years ago and some of these steps seem very similar.
ReplyDeleteTurned out great.
I love all grafic designs but this one is so beautiful!!
ReplyDeleteI still say you are a print maker!!
ReplyDeleteThis takes me way back! Sometime in the early 70's I took a printmaking class, and learned the etching process... still have a print of my 'still life' on the living room wall. Nice work!
ReplyDeleteBeautful etching, a great success!
ReplyDeleteAwesome. I can't wait to see more.
ReplyDelete