I am not getting much work done so I thought I would just share with you some of the blogs I have visited this week and have gotten some inspiration for fiber experimentation.
Bea at Dog in the Hole Studio got together and had a play date like Beth, Rosalita, and I did. They did some bleeding tissue paper stuff too but they took it several steps further. Gonna have to try that!
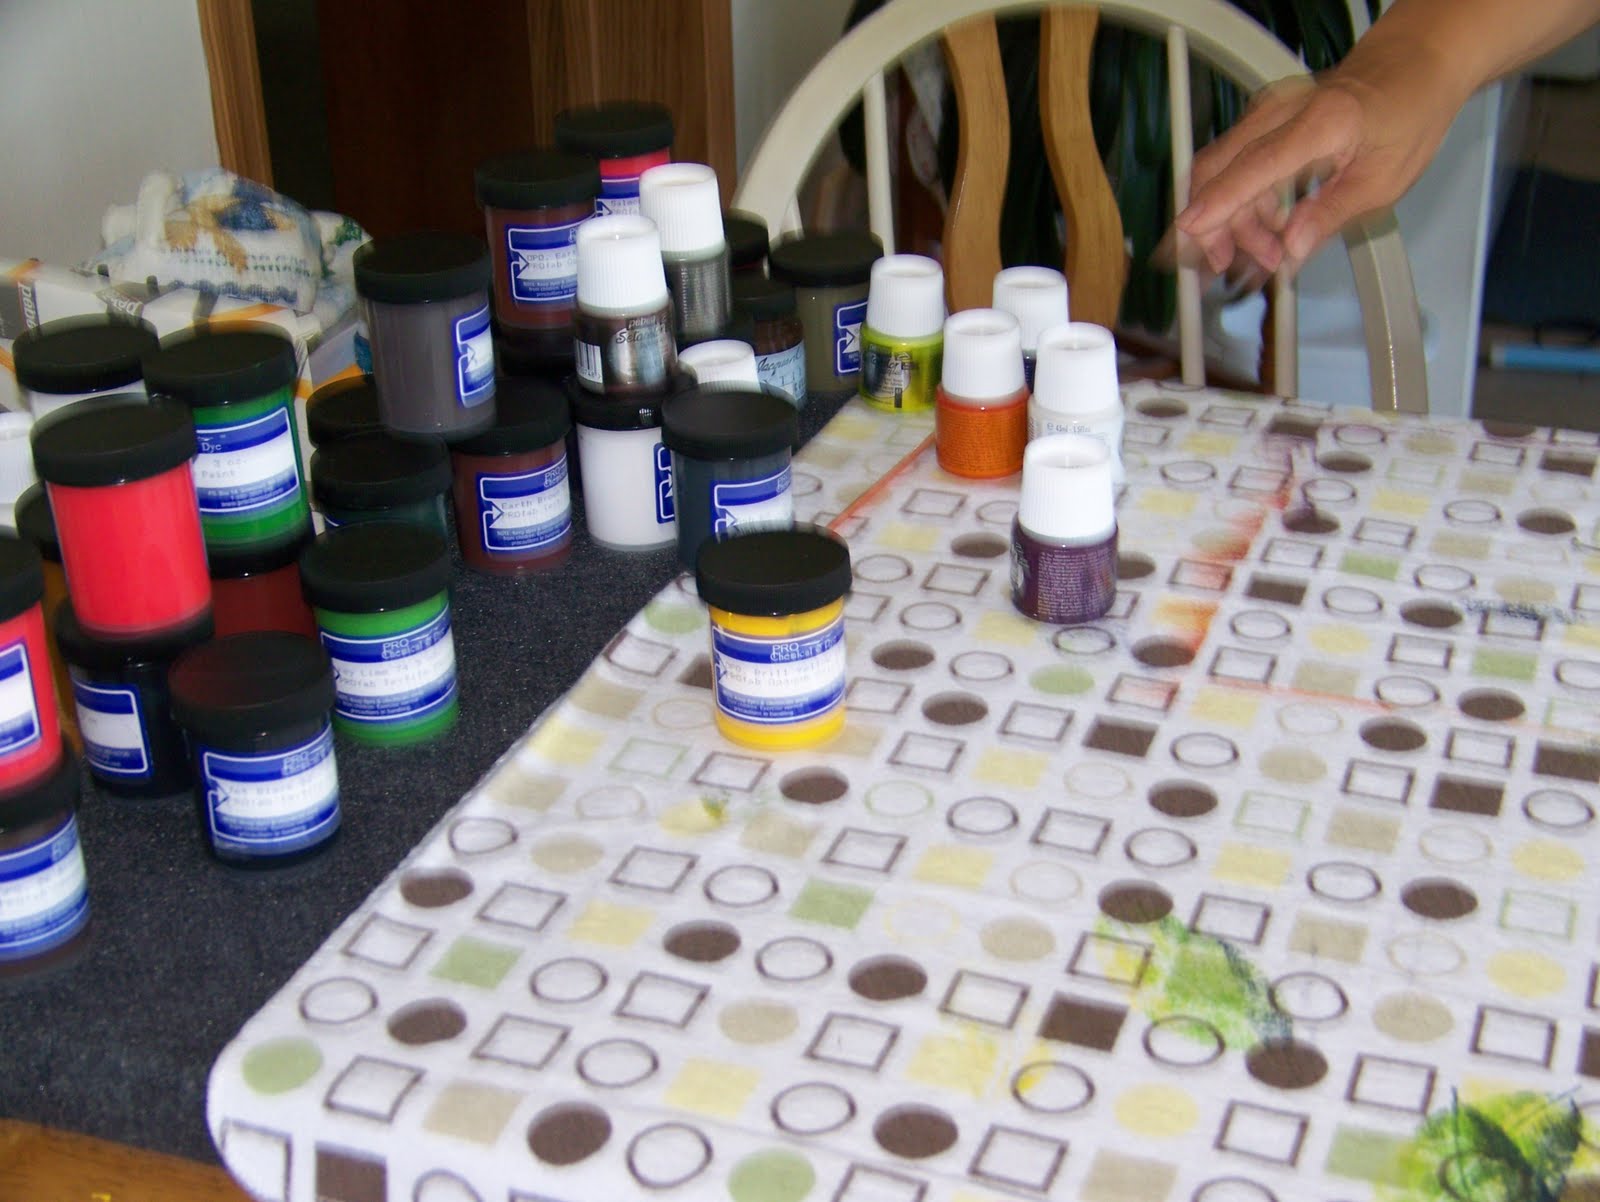
Elizabeth at Art and Quilts, Cogitation Thereon had a nice discussion on fabric and MX dyeing. I am still trying to figure out the dyeing and haven't yet gotten to the fine details of types of cotton to use. I did really enjoy reading about the glove box. I have had some problem with dye powder from one project getting on others and leaving marks I didn't want. The glove box would help with that!
Judi at Approachable Art always gives me good inspiration and encourages me even when my pieces are completely inadequate. In this post she talks about her multiple steps in surface design and some problems she is having with her silk screening. Since Beth, Roasalita, and I are planning to de-constructed silk screen next play date, I payed attention to Judi's advice.
Gloria Hansen gives us a tutorial on Shibori with Fabric Paint. I had not heard of anyone doing it with fabric paint but I must say I like her results, particularly the diluted black paint and bronze one. She also gives us wonderful links to other tutorials. LOVE sites that direct us to other fabulous sites, don't you?
Hope you have a good time visiting these blogs!
First it was all about quilting and then dyeing and then I started making books and zentangling and drawing. Now I have given up on limiting myself and this is all about my creative journey. Hope you'll join me on my journey and invite me on yours!
Wednesday, June 30, 2010
Saturday, June 26, 2010
Field of Dreams

I didn't like it (well, not hated it but it definitely needed more) and didn't like it and didn't like it but I think the last touch finished it. I kinda like it now. For more details and pictures, check out Interpret This!
Friday, June 25, 2010
Play Date Results #3 and #4

If you want a little more movement in the dye, you can spray the soda ash solution onto the fabric after sprinkling with the dry dye powder. That will cause the dye to run a bit. Beth did that to hers and got a lovely effect which I did not photograph (bad me!)

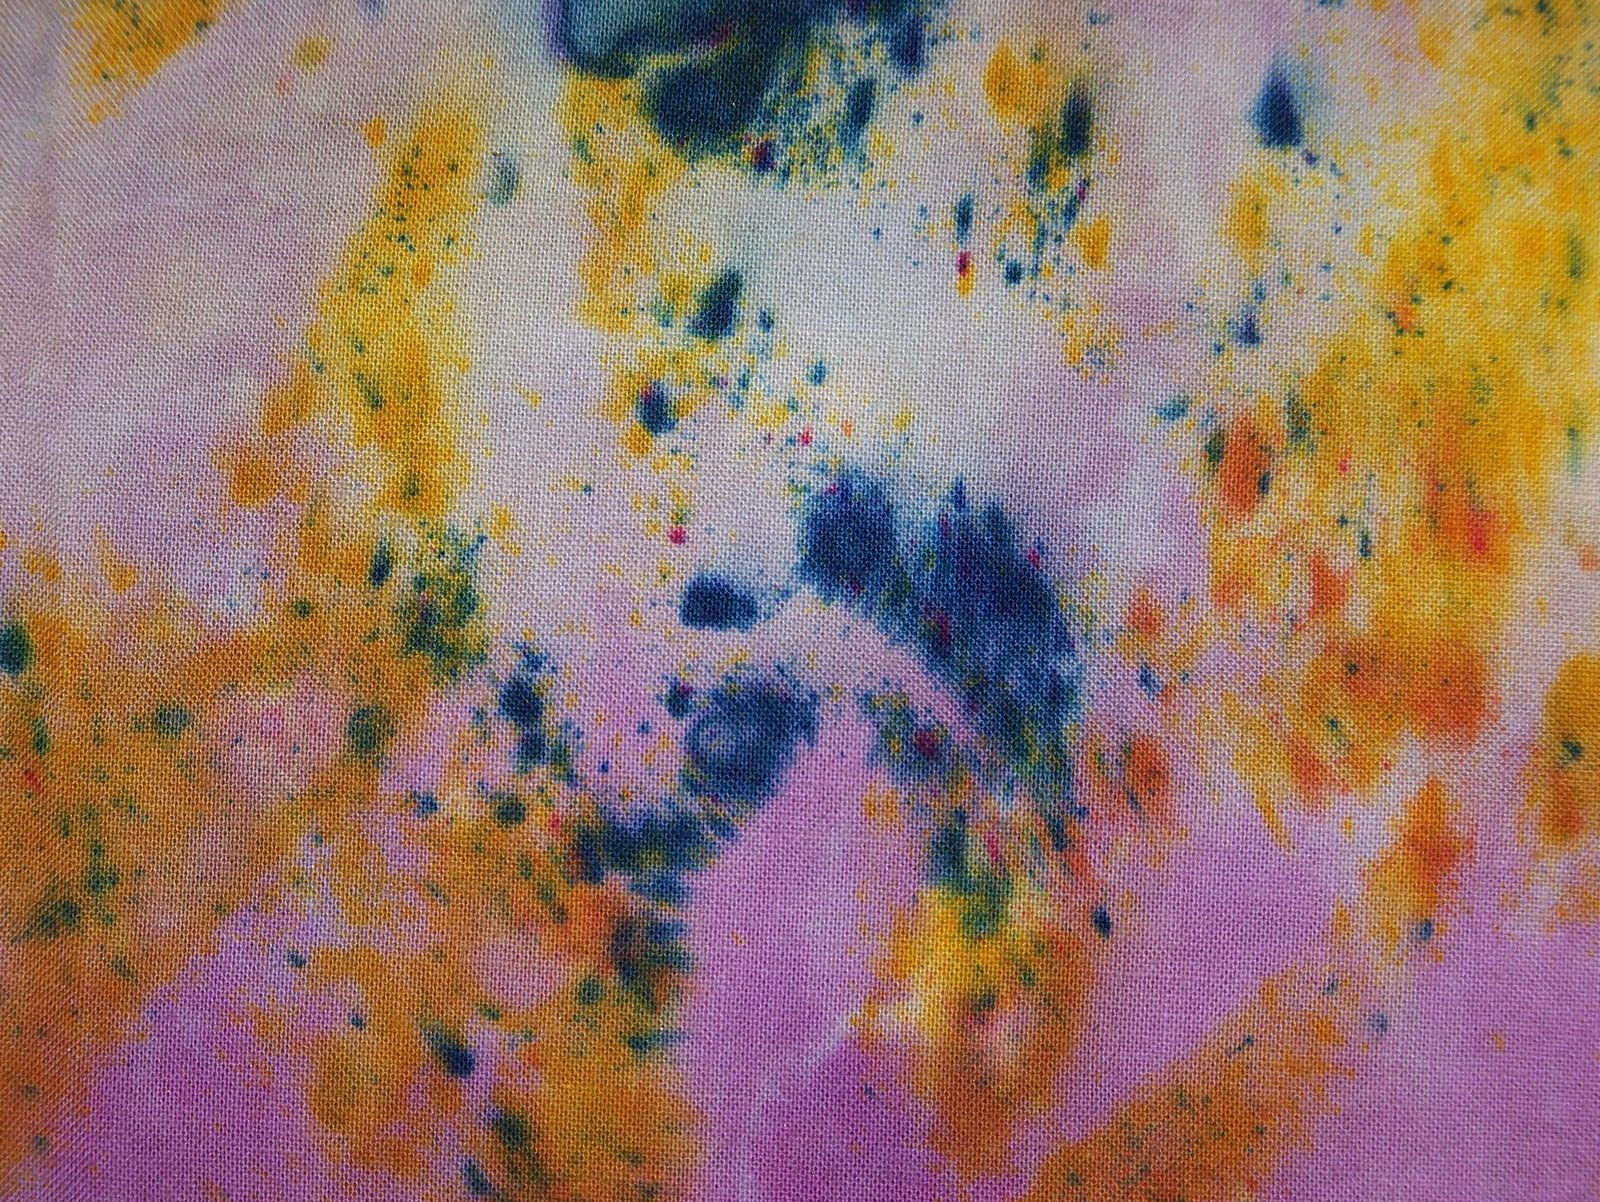
Fourth and last experiment we did was to paint with bleeding tissue paper. First you paint the fabric with a 50/50 solution of paint and water. Then you place strips of cut or torn bleeding tissue paper on the wet painted fabric. Make sure you press down or the tissue paper won't bleed. Let the fabric/tissue paper dry then take off the tissue paper. I tried the technique on the organza and loved the color and texture of the piece when dried! Because the organza was so thin, I laid a piece of white cotton under it for the painting and bleeding process. It also turned out beautiful! Without peeling off the tissue paper, I backed the bleeding tissue paper organza with a purple organza for strength and so the fabric would not ravel when cut.
Well, Beth and Rosalita decided I either was not crazy or at least crazy in the right way because we have another play date scheduled for August!
Tuesday, June 22, 2010
Results of Play Date #2


Once it is dry, you can treat it like regular fusing--cut it into shapes and fuse it to material. The difference is that now it pretty! The one warning is that once you have fused it to material, don't plan to iron the material again! I haven't tried it but I have been assured that is washable.
Here is my fusing cut into rough squares and fused onto some lovely discharged fabric that Beth made. Isn't it wonderful together?

Monday, June 21, 2010
Results of my Play Date
Saturday was my long anticipated play date with Beth and Rosalita, a couple of other Maine fabric artists! We were all excited and a little apprehensive about meeting for the first time. They wondered what they would do if I was a crazy lady and I wondered if I would end up cut into little pieces and buried in the basement. I mean, you never can tell about people you "meet" on-line, can you? I can't speak for them (since all my children will attest to my craziness) but I had a wonderful day. WOW are they talented ladies. If I get to play with them on a regular basis I can really see my art skills expanding!
We did three separate surface design techniques. One was silkscreening with thermafax images. I did two silk screens. This one is from a big and little goddess doodle that Beth made. I put it on a hand dyed fabric of mine that needed something. It still needs some swirls but overall it is coming along nicely.

Here is a peek of a print I did on the hand dyed silk I made and will use for my June Concept for IT! due in just 5 days (EEK!) Guess what I am doing tonight after work? The basting pin should give you a hint.

And here is the tree that Beth silkscreened on one of her hand dyed fabrics.

Rosalita did a silk screen too but I did not take a picture of it (I didn't want to be too big of a pest with the camera) but I did take a picture of her print of a leaf from her flower garden. Think like 12" or more large! Rosalita is not done with it. She has (and loves) the new Smooch paints (or are they inks?) and plans to highlight with them and add some thread play. I am eager to see this finished.

I fell in love with the silk screen process with thermafax and Beth gave me the contact information about how to get more thermafaxes made so I see this technique being added to my repertoire.
We are getting together again in August and one of our projects that month will be deconstructed silkscreen printing. What fun!
Tuesday, June 15, 2010
Dye Jar explanation

I have had a couple of questions about jar dyeing. Like, what is it. Well, actually the more correct term is parfait dyeing but since I do mine in a jar I called it jar dyeing. And I am following Judi's example on Approachable Art. When I do it in a vase perhaps I should call it vase dyeing. Anyway, I am new to the technique and still working to master it so I am not going to give you a tutorial. I will be happy to connect you to the excellent blogs that have inspired me.
Elizabeth at Enchanted Art has a simple explanation and several examples. Gisela at Art ADD works for me also has some great result pictures. But my favorite is Judi's Approachable Art blog. Judi does LOTS of dyeing and is great with explanations. If you want to know more about jar dyeing (AKA parfait dyeing) I can give you no better recommendation than to check out her blog and go through her old blogs on dyeing fabric. You can even show Judi your disastrous attempts and she will come back with a word of encouragement. (I am just guessing...LOL) A very generous artist.
ATCs at my guild meeting last night
In a fit of unexplained volunteerism I offered to teach the women in my quilting guild how to make Artist Trading Cards. Most didn't know what they were. Some didn't care.
I took the cards that others had traded with me to show the many different looks and techniques used in ATCs.(Thank you to all who have traded!) Whenever someone asked me if they could do....whatever, I told them the one rule is that the cards have to be 2 1/2 by 3 1/2 inches. Other than that, they could do anything they wanted. Most were doubtful.
By the end of the evening the ladies were excited! Each woman had chosen a background fabric for her series of 8 ATCs. We had butterflies and guitars and batiks and pale soothing colored fabrics waiting the excitement to start. There were beads and ribbons and yarns and lace and buttons and...lots of stuff for embellishing! Many had embellished at least one card and took stuff (see the list of embellishments above) to finish the rest at home during the month. Next month they will bring in their cards to trade with each other. I can't wait to see the finished cards.
Here are some pictures from the evening.


Monday, June 14, 2010
Jar Dyeing and a quilt challenge (not from me)

Here is a half-gallon pickle jar full of dye and fabric. I thought the jar would be perfect for dyeing but not so. The biggest problem is that the opening is more narrow than the rest of the jar. That meant that the material all nicely scrunched couldn't fit through the opening. So, I had to put the fabric in the jar little by little. For me, that was the fatal flaw for the jar. I won't use it again. The second problem I had was that I used one yard pieces of fabric and could only fit three in the jar. That could be overcome with a bigger jar or smaller fabric. The last problem I had was with the pink dye. See the lov-er-ly pink dye at the bottom of the jar? Well, it was dead. Looked pretty but didn't dye the fabric.
Of the three pieces, I like one of them as is.

A second one I over dyed with yellow and I like it much better. Looks kinda like a forest on a sunny day, doesn't it?

The third is overdyed with blue and it still is not ready for public viewing! All three will get more something later but I am finally satisfied for this step.
And now the quilt challenge, "If you were a quilt, what would you look like?" Hmmm....what would I look like? I bit older and raggedy perhaps. I friend, Bonnie Dyer, from my quilt guild just got published in a book "Vintage Revisited." There a group of quilters took antique blocks and turned them into modern art quilts. Maybe that would be me.
Friday, June 11, 2010
Washed
Washed.

I might still do some tweaking of the metal cable. I am not sold on the placement yet but the rest of it is done. I called it Washed because it started out with metal washers sewn onto the fabric (some old pants of my husband's) by embroidery floss using the buttonhole stitch.

I then progressed to making "washer" with silver metallic thread and embroidery floss again using the buttonhole stitch.

And there are a few "washers" made from silver Shiva oil sticks. The last type of "washers" are the two sizes of grommets that let you see through the fabric to the other side.

The metal cable is supposed to represent the sewing of the quilt layers together as it weaves in and out of the "washer" grommets. The ends are frayed because they have been "washed." Tee Hee
Thursday, June 10, 2010
Hardware Store Challenge
I have a quilt due this Saturday that needs to be finished (like last minute finishes are foreign to me! LOL). Dear Husband is doing the cooking, the dishes, and the laundry while I sit on the couch and hand quilt. Dear Husband is also going to bed alone as I stay up for another hour or so sitting on the couch and hand quilting. When I go to bed, I dream of the quilt. Not all of the dreams end up happy. I then sleepwalk through my work day from lack of sleep and only wake up when I return home to work on the quilt some more.
I am at the stage of the quilt that I think of as scary. I kinda like the quilt. It still needs something to make it special. Will one more thing make it special or ruin the weeks of work I have in it? Which risk shall I take?
If I am lucky, I will get the quilt finished tonight after work. Last night I finished the quilting, applied all the grommets except three more that I have decided the quilt wants, brushed on my silver oil stick, and sewn on the binding and hanging pocket. Tonight I need to add the three grommets, turn and sew the binding and hanging pocket, then thread and fray the steel cable.
The quilt itself is for my guild challenge --- incorporating something from the hardware store. I have incorporated a couple of things but they seem so generic that I kinda fear that others may have incorporated the same things. We'll see on Saturday when we all display our entries. From there the quilts will be hung in the Maine State Quilt Show.
On Friday, fingers crossed, I'll give you a preview.
Wednesday, June 2, 2010
A gift in the mail!


Tuesday, June 1, 2010
June's picture for Interpret This!

If any idea immediately strikes you for the overall design of the quilt or the technique to use to achieve it, let me know.
Subscribe to:
Posts (Atom)