Beth is majorly in love with deconstructed silk screen. I am less so. She likes the spontaneity of it and I dislike the lose of control. But we had a play date this week where we both did deconstructed silk screen. We set up our screens very differently. I am sure Beth will post about her work on her
blog so I am just telling you about mine. And I am posting to
Nina Marie.
I set up 4 of my screens with thickened dye squirted in lines.
The last screen I applied the navy blue thickened dye in thicker lines by pouring it on the screen.
Unfortunately I stacked the screens one on top of the other to dry and the top screen in the stack was the navy blue which dripped on all the screens, as you can see in the top picture. Then, to make matters worse, when the dye was mostly dry, I set the screens upright to finish drying. Yeah, they were not as dry as I thought and all of them ran. See below.
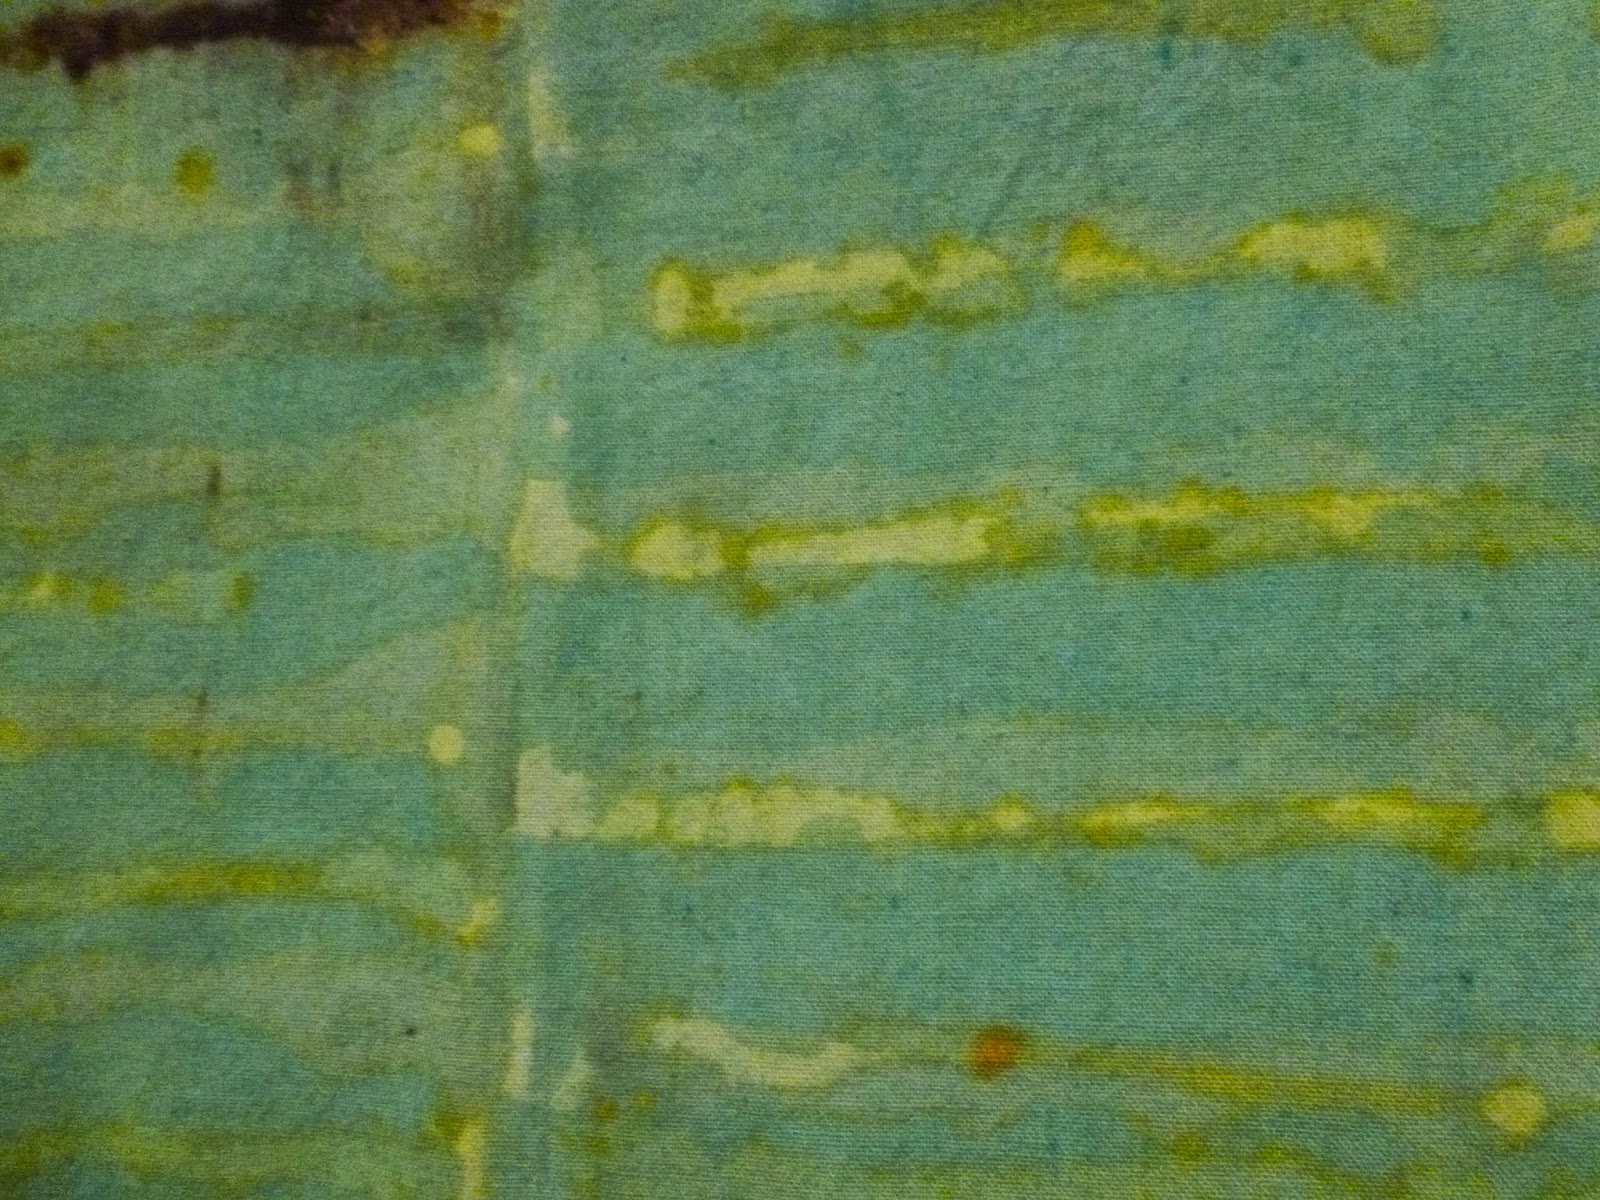
Oh well. Not the plan but they still printed. I used thickened dye paste with dye and soda ash added to deconstruct the screens. Most of the fabric I over-printed for more complexity but I loved the graphic nature of the last piece and only printed it once.
Here are pictures of the 4 pieces of fabric I printed. The first two are yard long pieces and the second two are fat 1/2 yards. All were dyed before since I don't really care for white showing through deconstructed prints. There are detail shots after each whole piece.
 |
| ONE |
 |
| TWO |
 |
| THREE |
 |
| FOUR |
Do you have a favorite fabric?